1. Windows computer

1.1 DLNA projection
if you use win10 system, because of the built-in DLNA protocol, it is very easy to projection to TV. Of course, TV should also support DLNA, and they are in the same WiFi network environment.
right click “play to device” to select the model of TV
can also be projected in the “movie and TV” player of win10.
take the video file as an example, right click to open “play to device”, the model ID of TV will appear, and click to complete the wireless screen projection operation. In addition, after using the built-in player to open the video, it will also appear “project to the device”, and the operation is very simple.
1.2 wireless same screen
in addition, most smart TVs also support the miracast protocol. Different from DLNA, it also has a mirror function similar to airplay, that is, what is on the computer will be displayed on the TV. With it, the wireless same screen can be quickly realized between the computer and the TV.
and
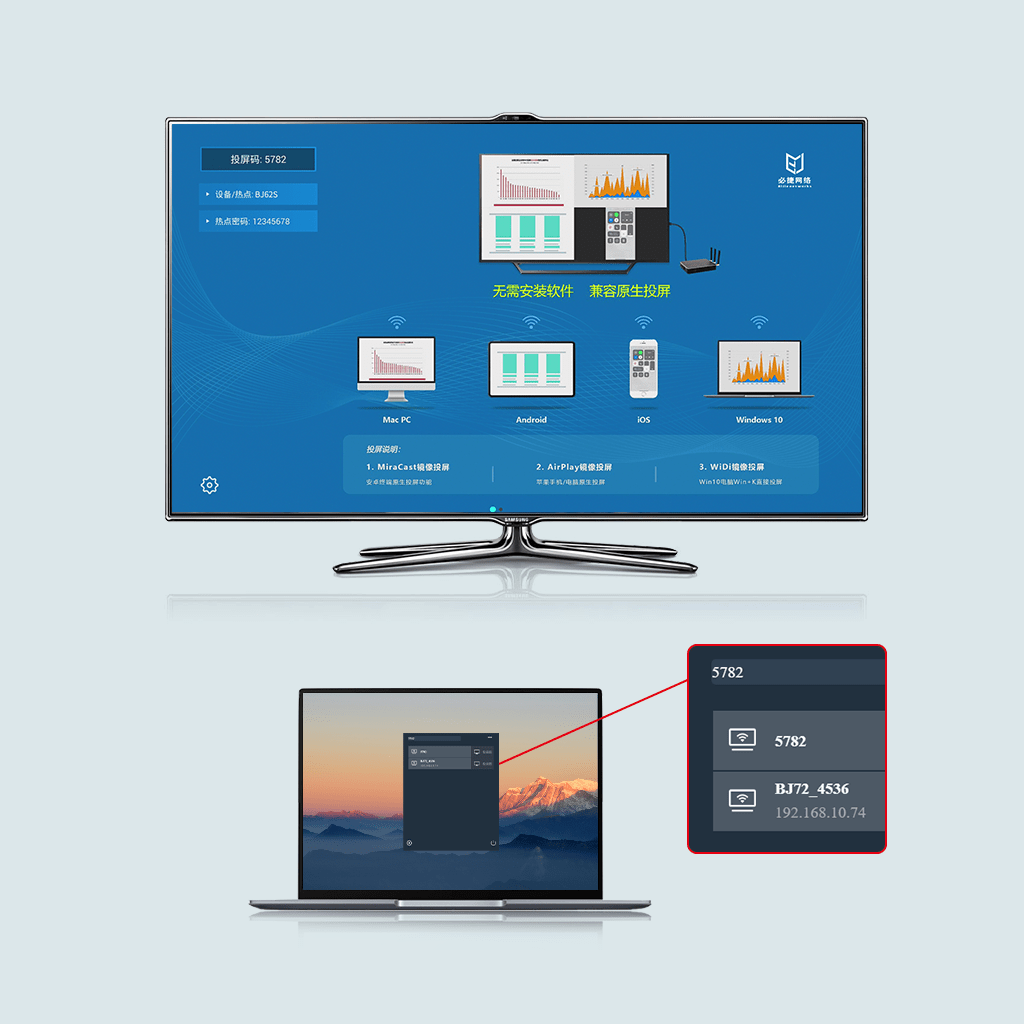
turn on miracast at the TV end. The computer will automatically search for the TV
and
to be connected. The specific operation process is as follows: first turn on “wireless projection” or similar application on the TV. After opening miracast, turn on the “connection” option in win10 control center. The computer will automatically search the ID name of the TV, and click to make the computer and the TV on the same screen.
2. Mac computer

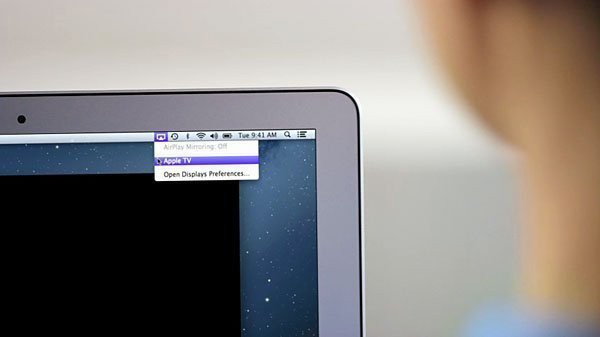
Mac computer is also very convenient. Through Apple’s proprietary airplay protocol, click the projection icon in the upper right corner of the screen. As long as the computer and TV are connected to the same WiFi network, you can see the ID name of the TV. After clicking, you can display it on the same screen.