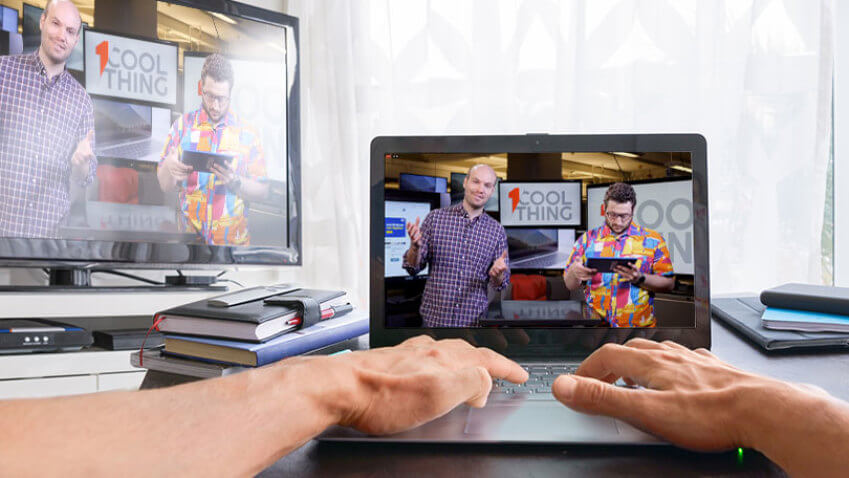
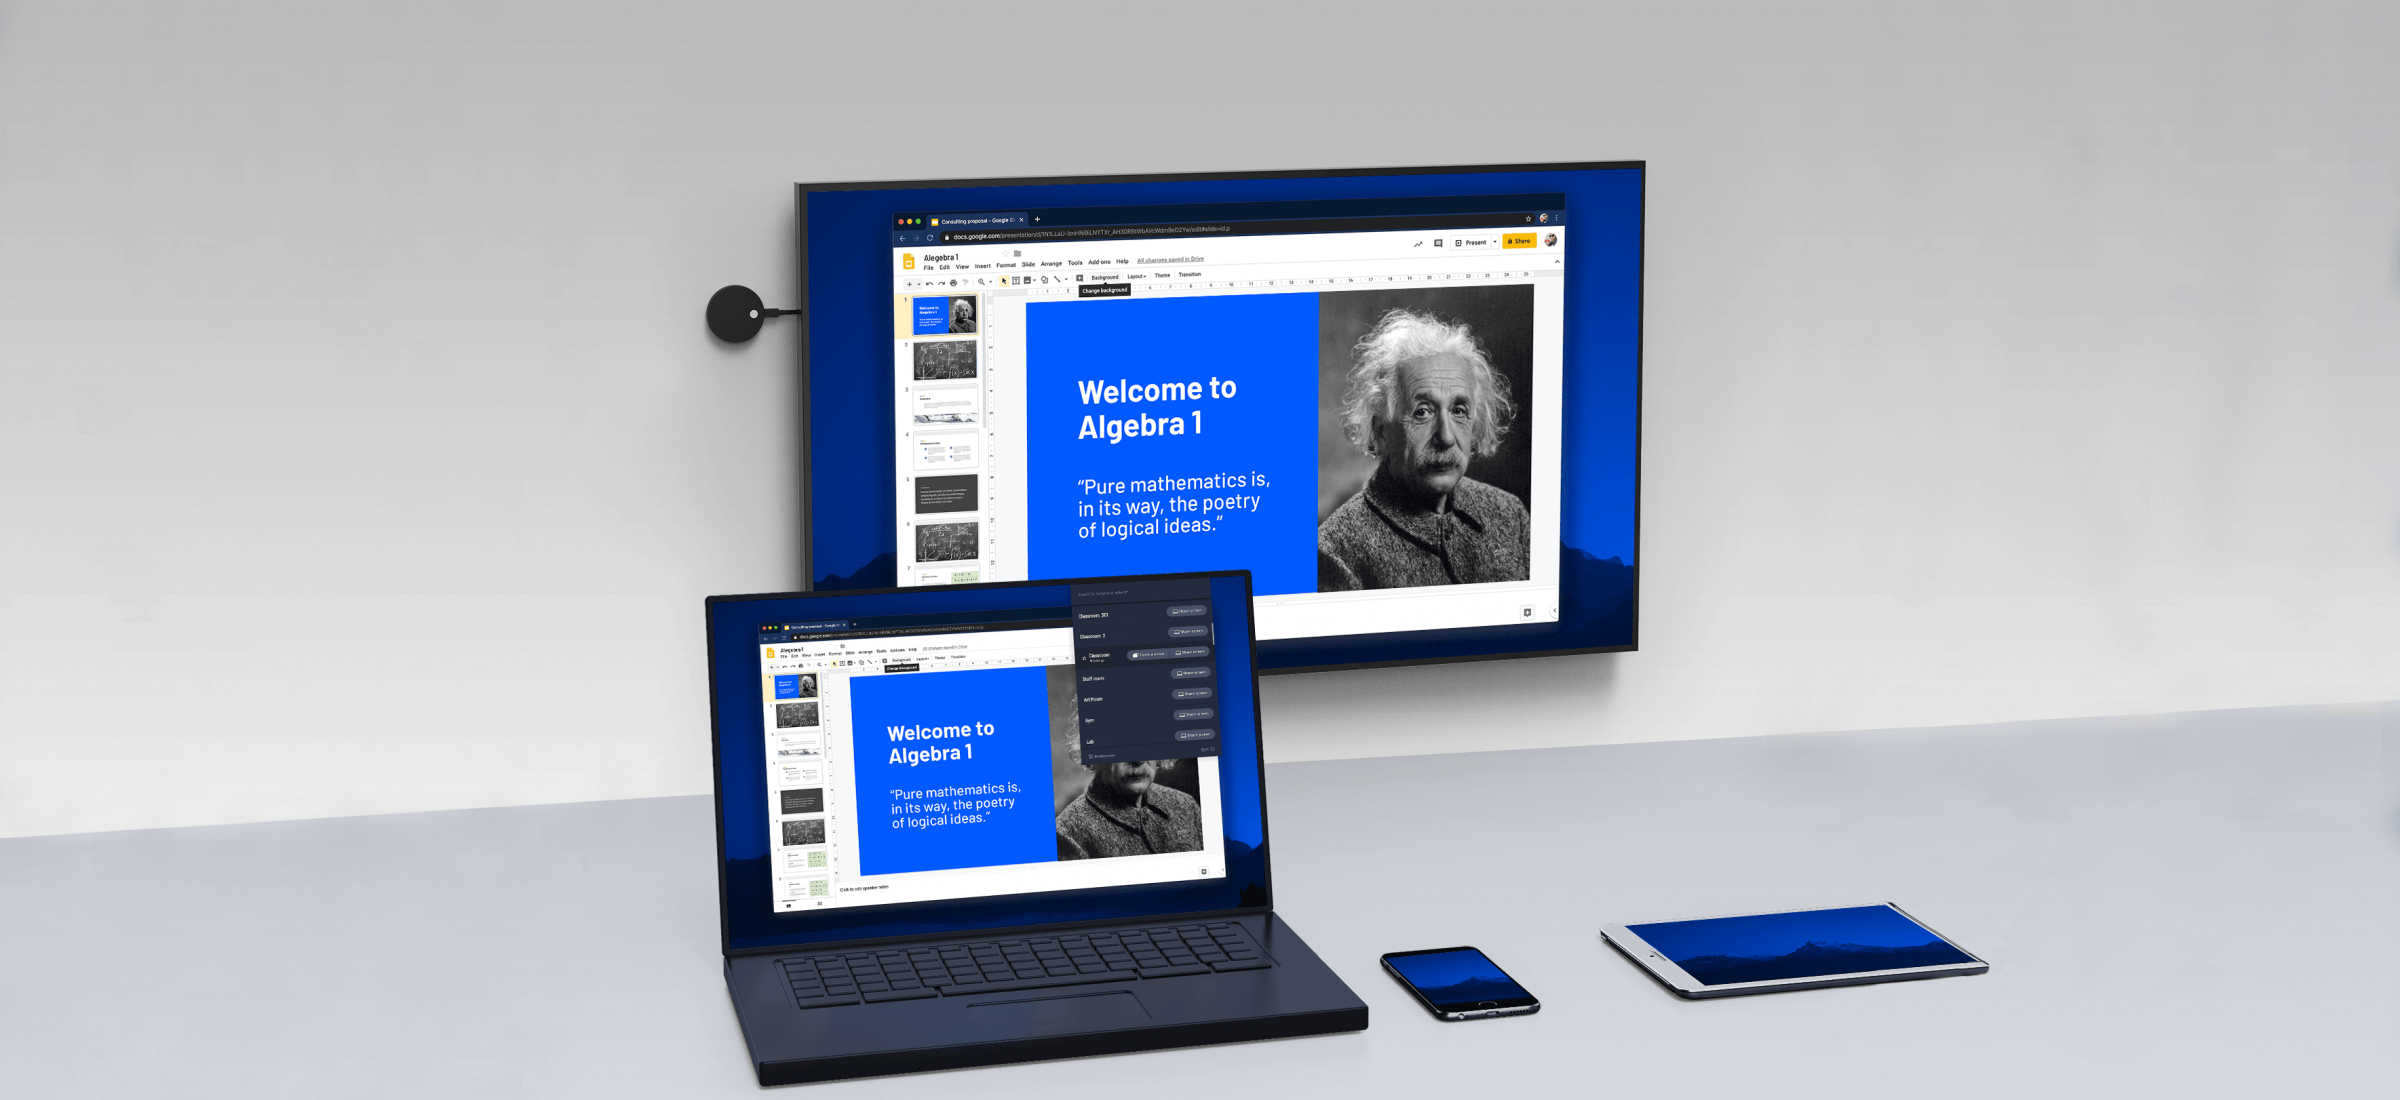
Miracast is a wireless display standard included in Windows 8.1, Android 4.2, and newer versions of these operating systems. With a Miracast receiver plugged into a TV or another display nearby, casting your screen should be easy.
This feature is also available on devices running Amazon’s Fire OS and Microsoft’s Windows Phone 8.1 and newer. Bear in mind that Miracast is notoriously finicky and problematic.
If your computer came with Windows 8.1 or Windows RT 8.1, it should support Miracast. If you’ve upgraded an old PC to Windows 8.1, it may or may not support Miracast. You may have to get the latest drivers from Windows Update or your computer manufacturer’s website before you’ll see the “Add a wireless display” option below.
The below option also refused to show up until we uninstalled VirtualBox on our Surface Pro 2. Miracast depends on having a “clean” networking stack, so programs that interfere with the networking stack — VirtualBox, VMware, and similar applications — may need to be uninstalled before this option will appear.
To access the Miracast options, swipe in from the right or press Windows Key + C and select the Devices charm. Click or tap the “Project” option.】
If you see an “Add a wireless display” option, your computer supports Miracast. To actually project to a Miracast device, tap or click the Add a wireless display option and select the device in the list. To disconnect from the wireless display, open the Devices charm, tap or click the Project option, and click the Disconnect button under the wireless display.
These options are also available in PC Setting. Click or tap the Change PC settings link at the bottom of the Settings charm to access it. Navigate to PC and devices > Devices. To scan for nearby Miracast receivers, tap Add a device. Miracast receivers you’ve added appear under Projectors on this screen.


