Multi screen interaction – How to set up a dual screen computer?

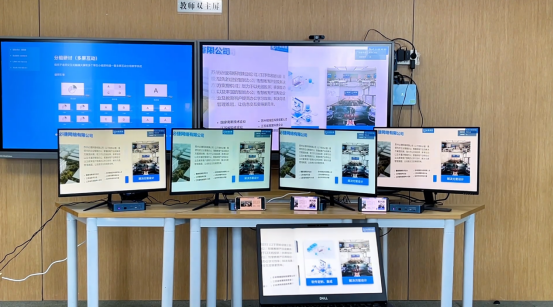
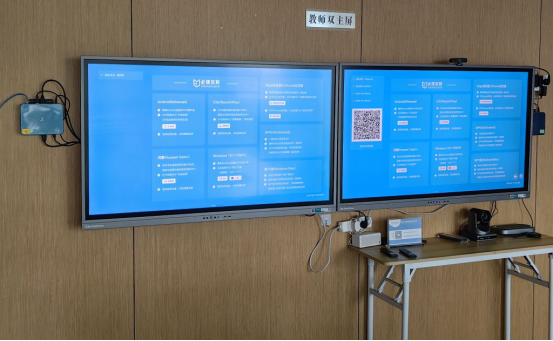
Dual screen computers are a common configuration that can improve work efficiency and entertainment experience. By connecting two monitors, you can simultaneously open multiple applications, expand your work area, and enjoy a wider view on multiple screens. This article will introduce how to set up a dual screen computer.
Firstly, you need to ensure the connection between the computer and the monitor. Modern computers are usually equipped with multiple video output interfaces, such as HDMI, DisplayPort, DVI, and VGA. There are also different interface types for monitors, so you need to choose an adapter or cable to connect the computer and monitor.
Once you have determined the connection between the computer and the monitor, the next step is to configure the dual screen settings in the operating system. The following are the setup methods on Windows and Mac operating systems.

Setting up dual screens on the Windows operating system
1.Ensure that your computer is connected to both monitors. Insert the monitor into the computer’s video output interface and ensure that they are working properly.
2. On the Windows desktop, right-click and select the ‘Display Settings’ option. This will open the display settings window.
3.In the display settings window, you will see icons for both monitors. They represent your main and secondary displays.
4. Click on the icon for the secondary display, and then select ‘Expand these displays’ from the’ Multiple displays’ drop-down menu. This will extend your desktop to the secondary display, forming an extended workspace.
5. You can also adjust the position and resolution of the monitor. In the Display Settings window, drag the icon to adjust the position of the display and select the appropriate resolution from the ‘Resolution’ drop-down menu.
6. Click the ‘Apply’ button to save the settings. Your dual screen setup is now complete.

Setting up dual screens on the Mac operating system
1.Connect the monitor to the Mac computer. Use an appropriate adapter or cable to plug the monitor into the Mac’s video output interface.
2. In the Mac menu bar, click the ‘Apple’ icon and select ‘System Preferences’. This will open the Mac system preferences window.
3. In the system preferences window, click on the “Display” option. This will open the Display Settings window.
In the Display Settings window, you will see icons for both displays. Drag the icon to adjust the position of the display.
5. You can also adjust the resolution and scaling options of the display. Select the appropriate resolution from the ‘Resolution’ dropdown menu and select the ‘Zoom’ option that suits your needs.

Dual screen usage tips
Once you have successfully set up a dual screen configuration, here are some usage tips that can help you better utilize the dual screen configuration:
1. Expand workspace: Drag different applications onto different displays to expand your workspace. This way, you can view documents or web pages on one screen while writing emails or creating presentations on another screen.
2. Multi tasking: By using dual screens, you can simultaneously open multiple applications and operate on different screens. This way, you can more efficiently multitask and improve work efficiency.
3. Video and game experience: Expanding the video or game graphics to two displays can provide a broader view and a more immersive experience. For example, watching a video on one screen while browsing comments or social media on another screen.
4. Shortcut keys and gestures: Mastering some shortcut keys and gestures can improve your operational efficiency on dual screens. For example, on Windows, use Win+left/right arrows to move the application window to a different screen; On Mac, use control+left/right arrows to switch screens.

In summary, setting up a dual screen computer only requires connecting appropriate cables and performing simple configuration in the operating system. Through dual screen configuration, you can improve work efficiency, expand your work area, and enjoy a richer entertainment experience. I hope this article is helpful to you!