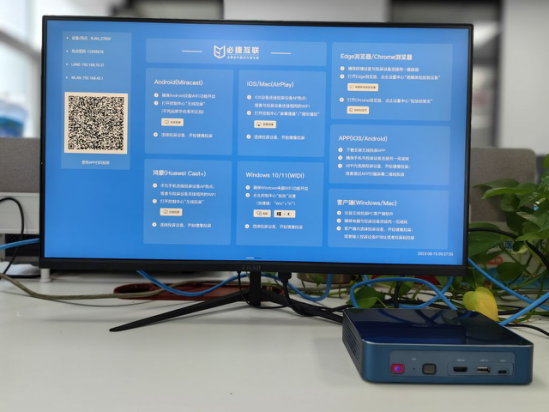
Simple method and operation of screen projection – iPad screen projection TV

Method 1: Use the Bijie wireless projector
Through the Bijie wireless projector, you can connect your iPad to a monitor, such as a TV, projector, or computer monitor.

Connecting iPad Pro (11 inches) or iPad Pro (12.9 inches) (3rd generation)
- Connect the HDMI cable or VGA cable to the Bijie wireless screen projector.
- Connect the other end of the HDMI or VGA cable to the auxiliary monitor.
- Switch to the correct video source on the auxiliary display as needed. If you need help, please use the monitor’s user manual.
- Then open the AirPlay screen of the iPad and search for the display device ID to connect.
Method 2: Use Chromecast
If you have Chromecast, you can download the Google Home app on your iPad screen and connect it to your TV. Then project the iPad screen onto the TV in the Google Home app.

Method 3: Use DLNA for screen projection
DLNA is a standard media projection protocol that allows devices from different brands to communicate and share media content with each other. Projecting an iPad screen onto a TV using DLNA requires three steps:
- Install and enable DLNA services on the TV,
- Download and install DLNA enabled applications such as Skifta or AirPlayer on the iPad,
- Select the content to be projected in the application and select the TV as the receiving device.

Method 4: Use projection software
Currently, there are many screen projection software that support iPad screen projection to computers, such as Bijie screen projection, Lebo screen projection, and Quick screen projection, which are also very convenient for home entertainment use.
