What is DLNA screen mirroring? Methods and steps for setting up screen mirroring for DLNA
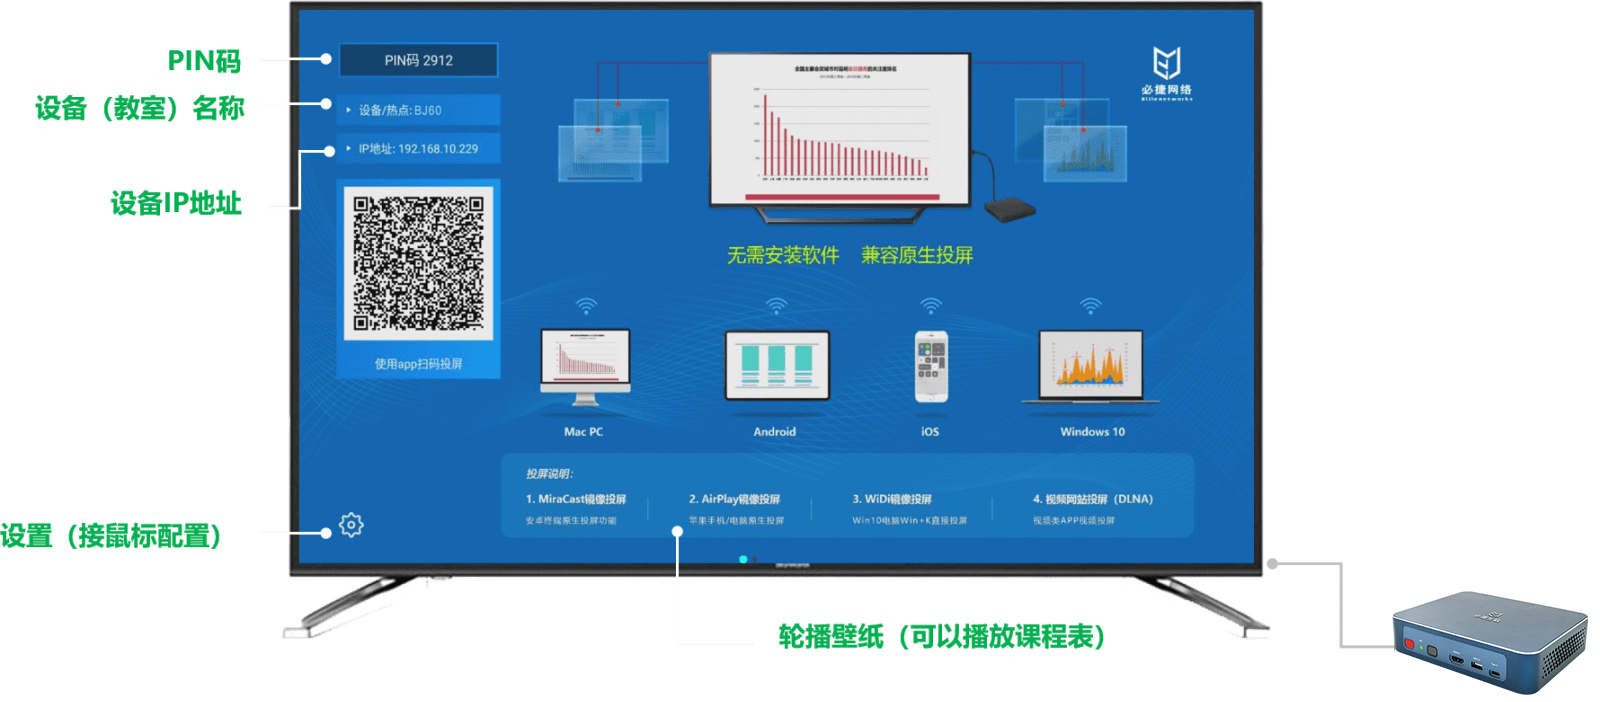
DLNA (Digital Living Network Alliance) is a technology that enables the transfer of digital media files from one device to another through a home network. It allows you to project videos, audio, and images from your phone, computer, or other device onto a TV screen through a DLNA certified device. This article will provide a detailed introduction on how to set up the screen mirroring function for DLNA.
Step 1: Check device compatibility
Firstly, you need to ensure that the devices you want to screen on (such as mobile phones, computers, and televisions) all support DLNA functionality. Most new smart TVs and many mobile devices come with built-in DLNA functionality, and you can find relevant information in the device’s manual or settings menu.

Step 2: Connect the device to the same network
DLNA screen mirroring requires all devices to be connected to the same network. You can connect the device through Wi Fi or wired network. Ensure that all devices can connect properly and have good network signals.
Step 3: Enable the DLNA feature
On the projection device, you need to enable the DLNA function. The specific steps may vary depending on the device. Here is a general guide for setting up:
- For smart TVs, go to the settings menu, find the network settings or DLNA settings options, and enable DLNA or media sharing.
- For mobile phones or tablets, go to the settings menu, find the connection and sharing options, and enable DLNA or media sharing.
- For a computer, you need to install and run a DLNA server software, such as Windows Media Player on Windows or a free Plex media server. Enable the DLNA feature in the software settings.

Step 4: Select media files for screen casting
Once the DLNA feature is enabled and all devices are connected to the same network, you can select the media files to be projected. Here are some common examples:
- Screen mirroring image: Open the photo album app on your phone or the image folder on your computer, select the image you want to screen, and then choose the “Share” or “Screen mirroring” option.
- Screen casting video: Open the video player application on your phone or a video file on your computer, select the video you want to screen, and then choose the “Share” or “Screen casting” option.
- Screen mirroring music: Open the music player app on your phone or the music folder on your computer, select the music file you want to screen mirroring, and then choose the “Share” or “Screen mirroring” option.

Step 5: Select the DLNA receiving device
Once you have selected the media file to be projected, you need to choose a DLNA receiving device (usually a TV). The following are the general steps:
- Turn on the TV and make sure it is connected to the same network.
- Find the “Source” or “Input” button on the TV remote control and switch to the corresponding HDMI input.
- Use the DLNA control function on your phone, computer, or TV to search for available DLNA devices.
- Select the DLNA device you want to screen on and confirm the connection on your phone, computer, or TV.

Step 6: Start screen mirroring with DLNA
Once you have completed the device connection and file selection, you can start the DLNA screen mirroring.
- On your phone, computer, or TV, make sure you have selected the correct DLNA device.
- On your phone, computer, or TV, select “Start screen mirroring”, “Play”, or related options.
- The media files will start to be projected or played on the television.
The process of setting up screen mirroring for DLNA may vary depending on the device model and software version, and the above steps are for reference only. Please make corresponding settings based on your specific device and software.
The DLNA screen mirroring feature allows you to conveniently enjoy various media content at home. Now, you can try setting up DLNA screen mirroring and projecting your favorite media files onto the TV screen to share exciting moments with family and friends.