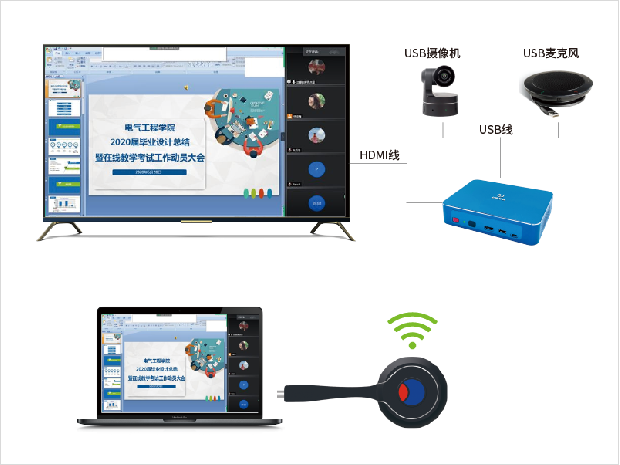
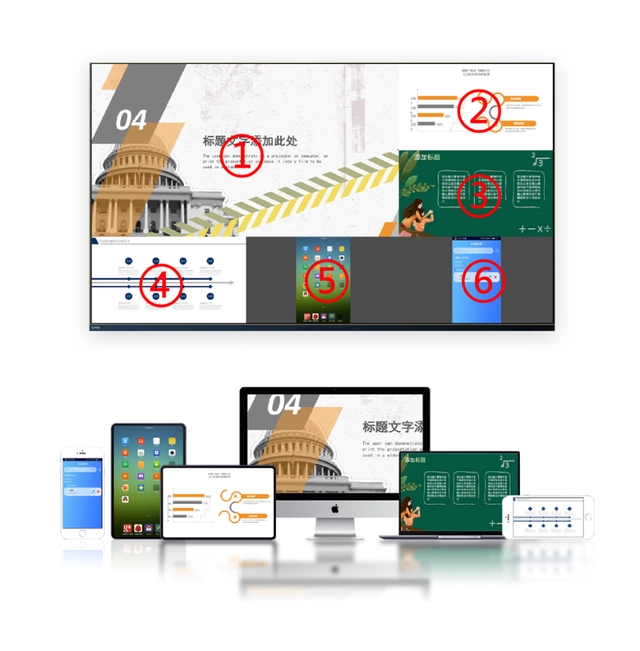
Miracast Win10: This device does not support receiving Miracast and cannot project. Solution:
Win10 has a built-in “project to this computer” function that can help us project images from our phone or tablet onto the computer screen, and then quickly input them using the computer keyboard. However, recently, some users encountered a pop-up message saying that Win10 does not support receiving Miracast and cannot project. How can we solve this problem?
Win10: This device does not support receiving Miracast and cannot project. Solution:

Method 1:
The “Project to this Computer” feature in Windows 10 requires the following three conditions to be met:
1. Wireless network card support
2. Graphics card support
3. Computers and phones connected to the same WiFi signal network environment simultaneously
4. After the installation of the driver is completed, you can press Win+R on the keyboard to open the running window, enter “run dxdiag”, click “save all information” in the opened DirectX diagnostic tool, and then open the saved DxDiag.txt text file to check if the Miracast line content is “available”
5. Right click on the start button>Windows PowerShell>Run the following command: Get NetAdapter | Select Name, NdisVersion. Check if the corresponding NdisVersion for WLAN in the results is greater than or equal to 6.40
If it is not supported or lower than the version, it cannot be used.

Method 2
1. Check the “wireless display”
Although “projecting to this computer” was once a built-in feature of Win10, with the continuous updates of Windows versions, the new version of Win10 has classified it as an “optional feature”. Since it is an optional component, the first thing to check is whether this component actually exists. The specific method is to open “Settings” ->”Applications” ->”Applications and Features” ->”Optional Features”. If there is “Wireless Display” in the list, it is normal. If not, you need to click “Add Features” above to manually install it.
Check for wireless display
2. Clear previous “connected” devices
If your computer has been successfully turned on before but is not working now, it is likely that the previous “connection record” was not cleared completely. At this point, you can open “Settings” ->”Devices” ->”Bluetooth and Other Devices”, find the wireless network card option, delete the device, and restart the computer. Clear previous connections
3. Clear device records in “connections”
Click on the start menu, open “Connect”, and then press Ctrl+S to enter the settings panel. There are two tags here. First, make sure your phone does not appear in the “blocked devices” section, then manually clear all “allowed devices” and restart the computer again.
Clear device records in “connections”
4. Check if the option is turned off
If everything is correct, your phone should be able to connect to the computer normally at this time (provided that both the phone and the computer network card support Micracast). If it still doesn’t work, you need to check again whether the option in “Settings” ->”System” ->”Project to this computer” is turned off. Among them, the first and last items must be kept open. Next, by connecting through your phone, you can see a connection reminder in the bottom right corner.
Check if the feature options are turned off. Under normal circumstances, you can receive a phone projection request.