The collaboration between MacBook and iPad is very convenient in the Apple ecosystem. You can expand your iPad into a secondary screen on a MacBook to improve work efficiency.
Preparation
- Make sure your MacBook and iPad are connected to the same Wi Fi network.
- Open System Preferences on MacBook.
- In the system preference settings, select “Display”.
Expand iPad to secondary screen
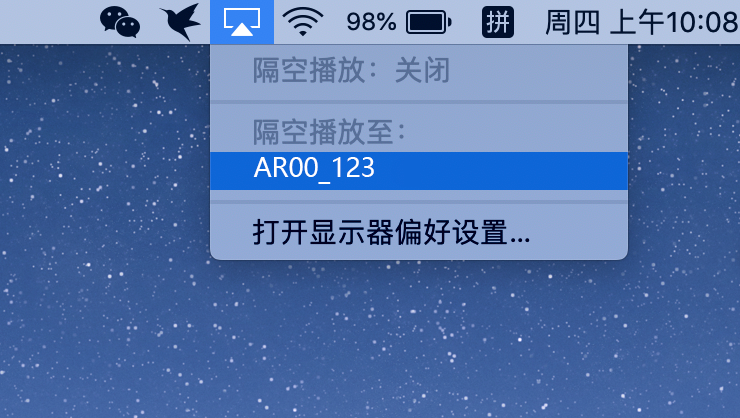
- In the “Display” settings, you will see a “Display” list that includes your MacBook and iPad.
- Select the iPad and select “Extend Desktop” from the options on the right.
- Adjust the position and size of the secondary screen. You can adjust the position of the secondary screen by dragging the blue marker at the edge, and adjust its size by dragging the blue marker in the middle of the secondary screen.
- After confirming the settings, close the system preference settings. Now, your iPad has been expanded to the secondary screen of a MacBook.
Using the secondary screen
- Open an application on MacBook and drag it onto the secondary screen.
- You can easily operate between two screens through a mouse and keyboard.
- If you need to adjust the brightness or rotation direction of the secondary screen, you can click on the “Display” icon in the top status bar of the secondary screen and make the corresponding adjustments.
In short, extending the iPad to the secondary screen of a MacBook is a very practical feature that can help you improve work efficiency. By following the steps and precautions mentioned in this article, you can easily expand your iPad into a secondary screen and enjoy the convenience of this feature.